|
|
See "Flight Safety" Article
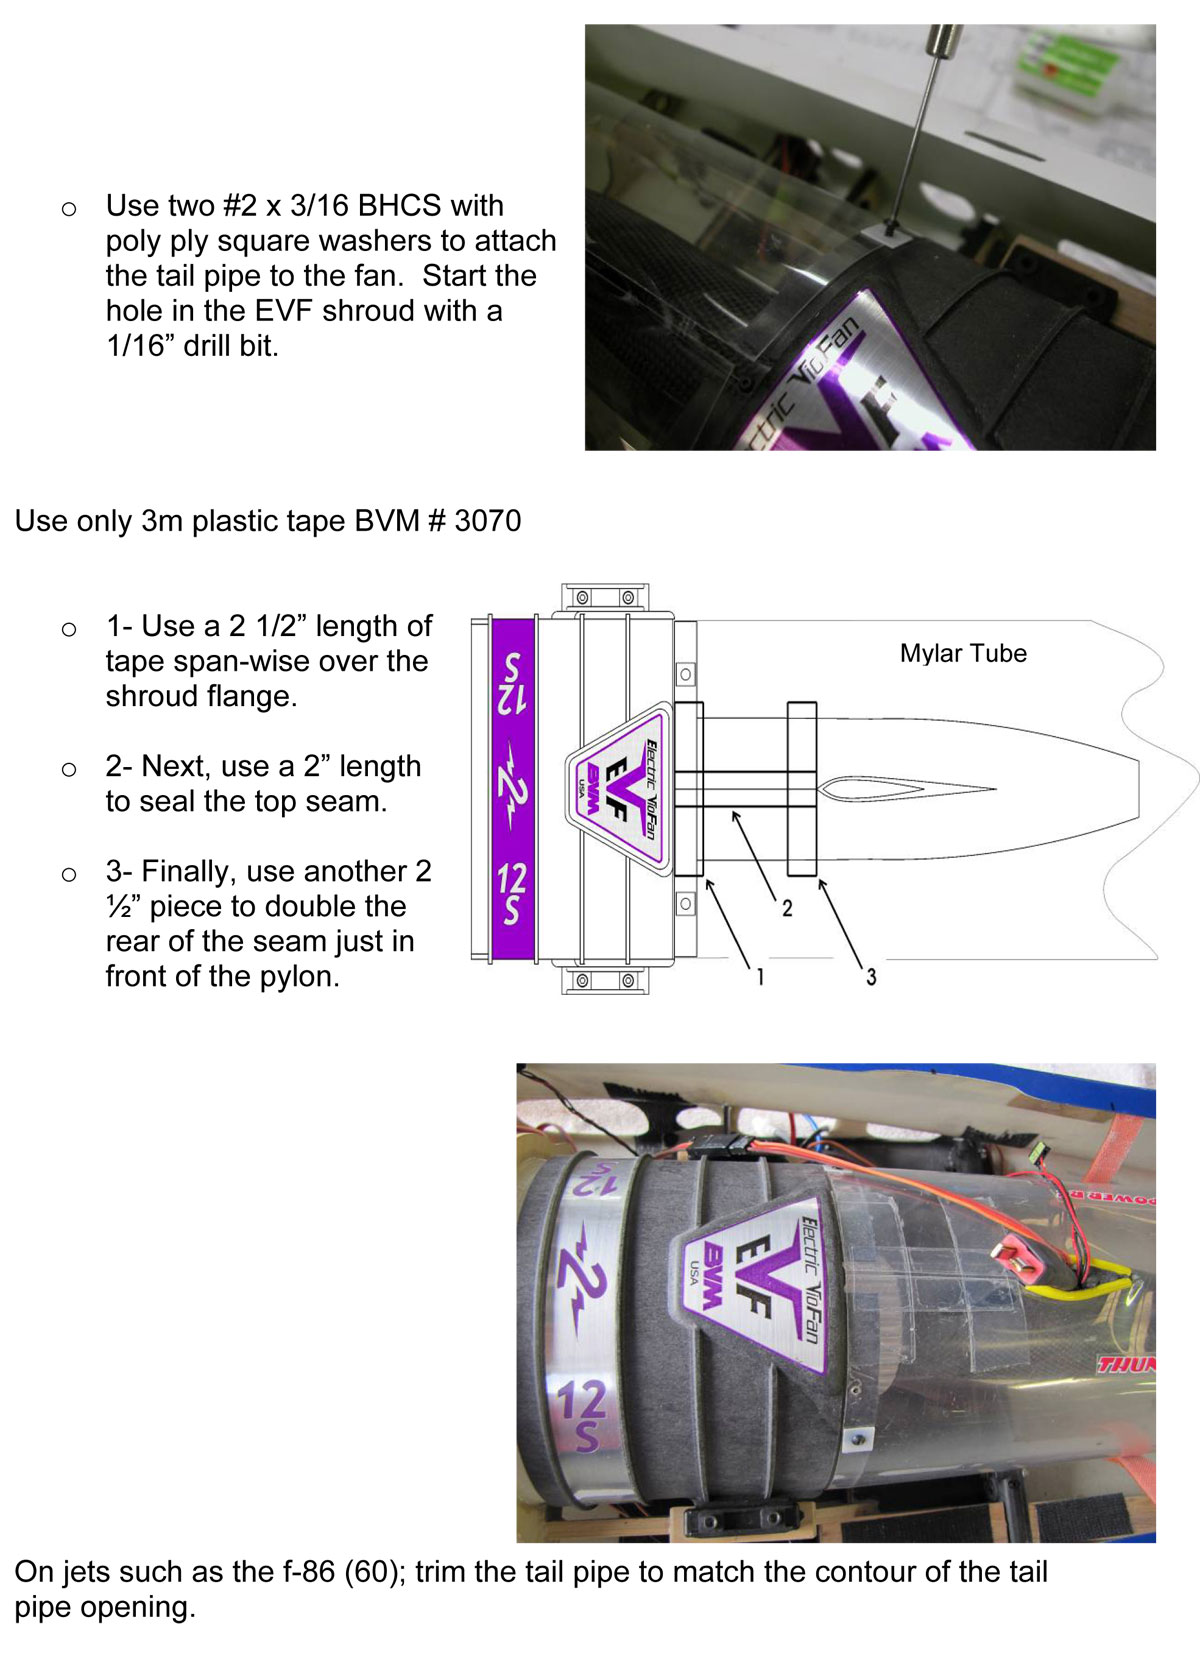
LiPo Batteries It is simply a relationship between chemistry and temperature. To protect your investment, it is best to store your LiPo batteries at 3.86 volts per cells. This is especially important in the summer time when car/trailer temperatures can reach 130° F or more at mid day. The chemical activity of a fully charged battery at these elevated temps can really challenge the cycle life of LiPo’s. So, if you are not going to fly soon, store the batteries at the 3.86 volts at normal room temperatures and you should enjoy your investment to the maximum. Some chargers have the “Storage Charge” feature. If yours does not, simply run the batteries in your EVF powered models until they are close to the optimum storage voltage. Thrust Tube Attachment(09/28/2010)
EVF Fan Unit(08/19/2010)DO NOT allow paint to get on to the rotor blades. This could cause an out of balance condition that could cause the rotor to vibrate and possibly come loose. EVF Tailpipe(12/09/2008)The original BVM Electra jets have hundreds of flights on the original tailpipes taped together per the instructions. We have heard of a few in-the field that have had the taped seams open up. This will cause a very noticeable loss of thrust. If you experience noticeable loss of thrust, land as soon as practical. Check the tailpipe seam and batteries of course. To repair the tailpipe, remove it, strip away the tape and clean the tape residue off with 3M Adhesive Cleaner #08984 (available at auto paint supply stores). Then rebuild the tailpipe as per the instructions.
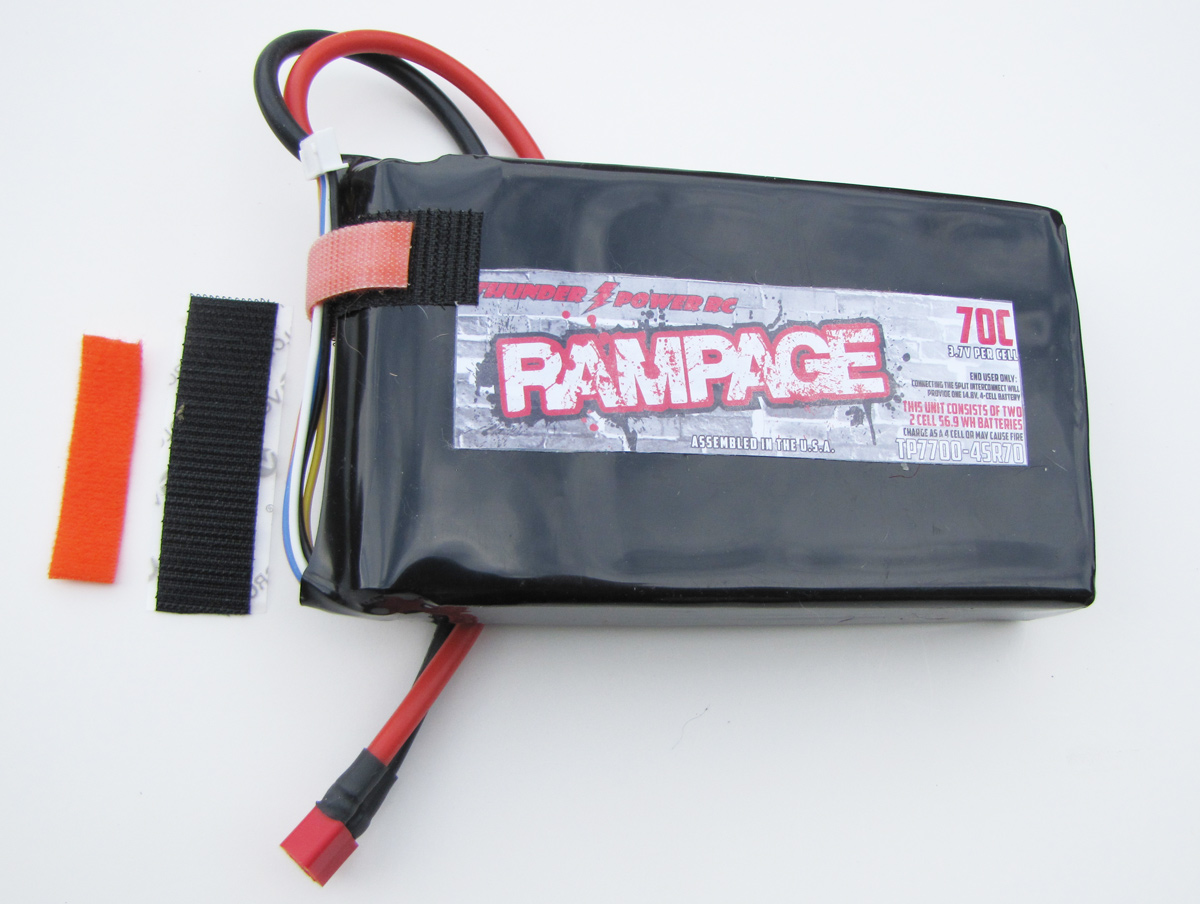
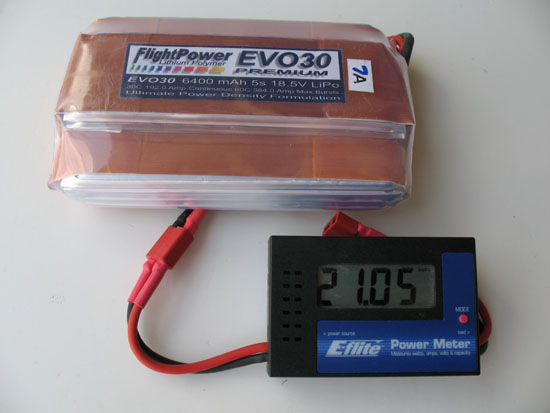
Converting Early BVM D/F Jets To EVF Power The Electric VioFan is a drop-in replacement for the piston powered Viojett, so converting these models to EVF power is relatively simple. The best candidates for the conversion are the F-86 Sabre, F-16, Maverick (and Pro version), Aggressor III, and the Ultra Viper because the space available and access to the batteries is adequate. The very early Viper and Aggressor I's and II's have limited space and access but can accept some battery configurations. Please keep in mind that the EVF power exceeds that of the DF Viojett. Therefore, the structural integrity of the very early designs combined with aging glue joints must be a consideration in your decision to convert. This information is not intended to be a thorough step-by-step instruction manual on each conversion but rather a few guidelines on how to accomplish. Experienced modelers can handle it. Since the model you are considering for the conversion may be new in the box partially built, or one that has been completed and flown with D/F power, the following guide lines must be applied accordingly. These guide lines will assume that the model has been built and flown. • Remove the Viojett, Tuned pipe, fuel tanks, and plumbing. • Remove the F/G Tailpipe with pipe hanger. • Remove the throttle and mixture control servos and linkages and their mounts. • Thoroughly clean any fuel reside from the inside of the fuse and check all glue joints for security. • The original non-"Hush kit" treated inlets do not require any modification. If the model has the "Hush kit" canisters, it is best to remove the inlets and install fresh ones. BVM can provide these parts. Note: It is likely that the epoxy paste seals on the Hush kit canisters no longer provide a perfect seal. An air leak in the canisters will severely interrupt the inlet flow and cause a noticeable loss of thrust. • Acquire the appropriate Mylar thrust tube for your particular model. • Install the EVF unit per original mounting system. • Install the thrust tube per its instructions. • Read EVF instructions. • See many posts on this site for more Hints + Tips on successful EVF operations. • Install the batteries. • The Center of Gravity and control travels remain the same as published in the original kit. Electric Jet Flight Experienced EVF pilots know how to fuss over their batteries by keeping records of flight times, temperatures, recharge capacity and total number of cycles etc. Even with this close scrutiny a cell can occasionally deteriorate. Your testing equipment may not pick it up. But should you notice that during a flight, the power just doesn't seem right, i.e. what you have gotten use to, land as soon as possible. The deteriorating pack will begin to put extra demand on the other Saddle CellTM. WARNING Immediately after each flight, disconnect the fan power batteries from the ESC. If this procedure is not followed, the ESC will continue to draw a small amount of current from the batteries eventually depleting them below minimum voltage and possibly ruin the entire set of packs. Connecting the Batteries to the ESC
The R/C link must be active (on) and the throttle and trim lever in the full aft (off) position. For the first operation of a new setup, be certain that the throttle channel is not reversed. The E.S.C. is set correctly at BVM and test run so it is not reversed. Observe the female end of the "Y" harness Dean's connector. It is best to aim the brass male pins at the plastic side of the positive and negative receptacles. Keeping your model aerodynamically "clean" is a very important component in our quest for longer flight time and high speed. A properly set-up BVM Electra Jet or F-86 will cruise around the pattern on as little as 28 amps at 80 - 90 mph. Properly set-up means that the hatch-to-fuse fits are good and the main landing gear strut doors fit firmly against the bottom wing skin. The nose gear doors must also be firmly closed in flight. Excessive weight causes the model to fly at an increased angle of attack thereby increasing induced aerodynamic drag. Good craftsmanship and time spent properly rigging the retracts certainly pays amperage dividends. We have found that a single turn on the threaded ball link end of the retract push rod can make the difference between gear strut doors that fit properly or not. "G" forces and lifting forces on the wing bottom can cause less-than-perfectly or as is adjusted doors to sneak open in flight.
Contact Us |
|||||||